
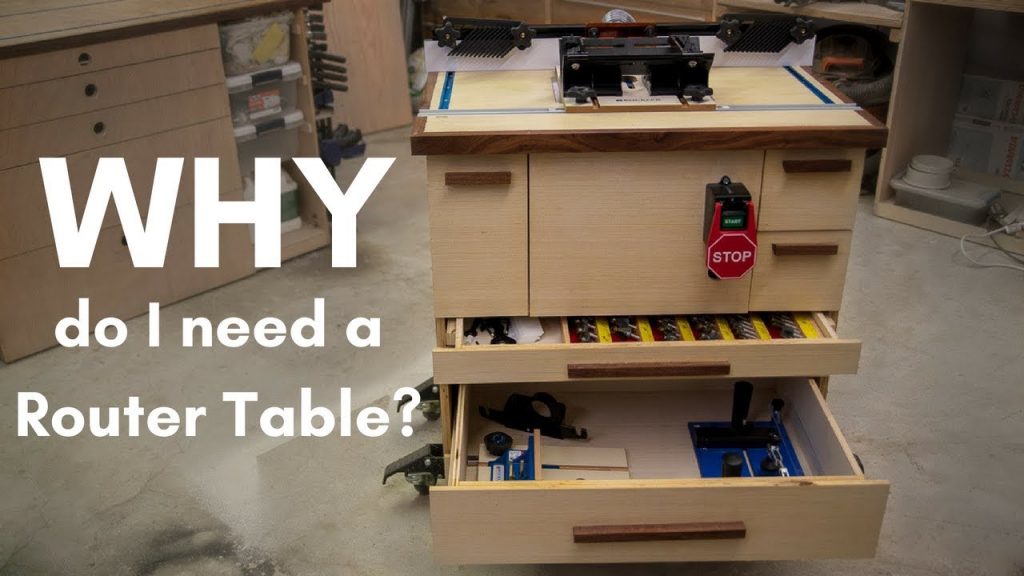
A router table is one of the most powerful tools you can add to your woodworking setup. Yet for many beginners, it can feel confusing, even intimidating. The good news is that once you understand the basics, it becomes a precise, efficient, and surprisingly enjoyable tool to use.
If you’ve ever wondered how to use a router table safely and effectively, this guide walks you through everything you need to know. From setup and safety to advanced techniques, you’ll learn how to get clean, professional results without frustration or avoidable errors.
What Is a Router Table and Why It Matters
A router table is essentially a stationary platform that holds a handheld router upside down, allowing you to guide wood over the spinning bit instead of moving the router itself.
Why Use a Router Table Instead of a Handheld Router?
Using a router table offers several advantages:
- Greater stability and control
- Cleaner and more consistent cuts
- Easier handling of small or narrow pieces
- Improved safety when used correctly
- Ability to perform advanced joinery techniques
For tasks like edge profiling, groove cutting, and joinery, a router table often delivers better results than a handheld router.
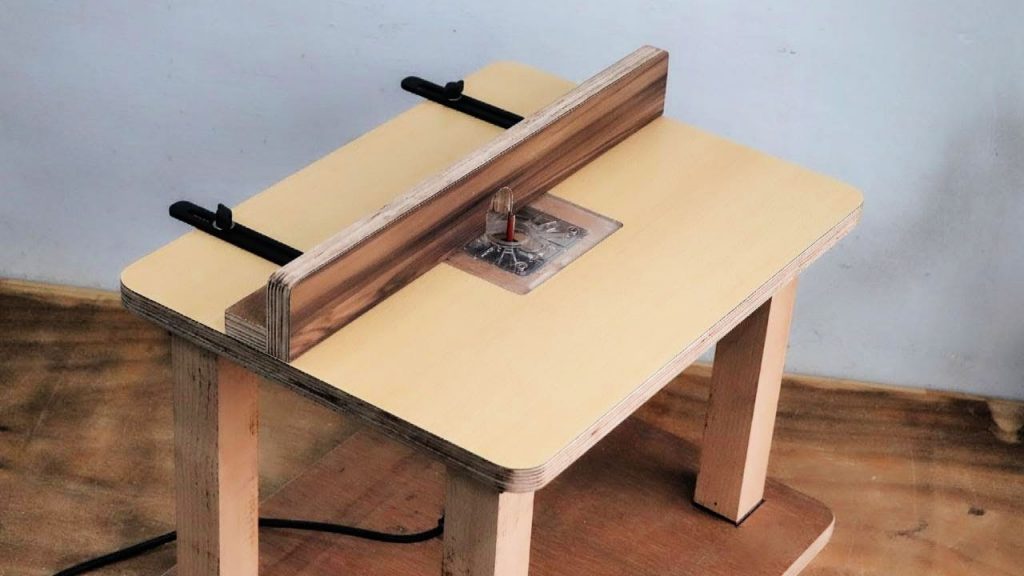
Understanding the Parts of a Router Table
Before diving into how to use a router table, it’s important to understand its main components.
1. Table Surface
A flat, durable top where your workpiece slides. Smoothness is critical for precision.
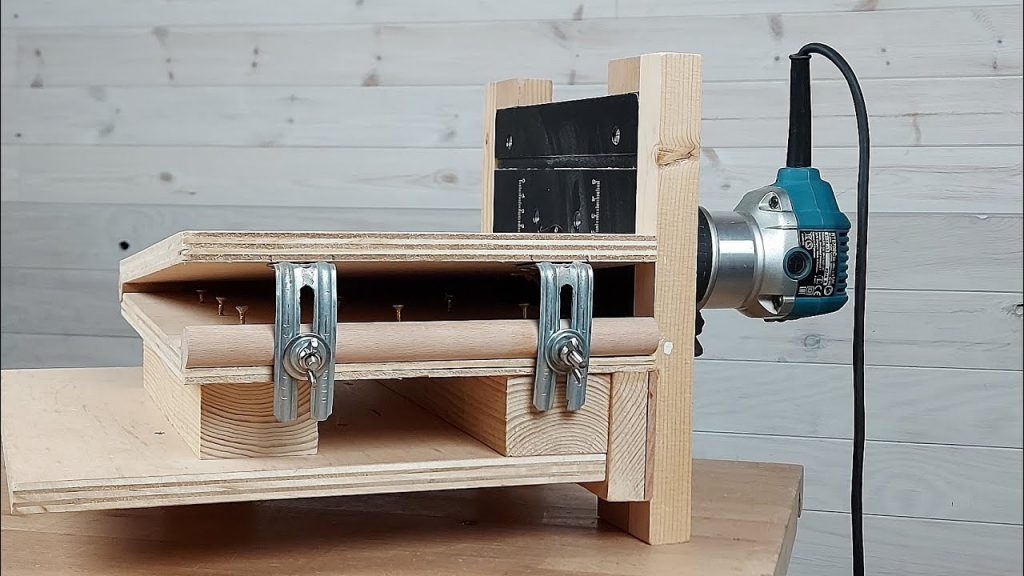
2. Router and Insert Plate
The router is mounted underneath the table, with the bit protruding through an insert plate.
3. Fence
A guide that helps control the direction and depth of your cuts.
4. Router Bit
The cutting tool that shapes the wood. Different bits perform different functions.
5. Miter Gauge (Optional)
Used for guiding crosscuts or angled cuts.
6. Dust Collection Port
Helps keep your workspace clean and improves visibility.
Safety First: Essential Precautions
Router tables are powerful tools, and safety should always come first.
Key Safety Tips
- Always wear safety glasses and hearing protection
- Keep hands away from the spinning bit
- Use push blocks or push sticks for small pieces
- Never remove too much material in one pass
- Ensure the router bit is securely tightened
- Turn off and unplug the router before adjustments
Ignoring these basics is one of the most common and costly mistakes beginners make.
Setting Up Your Router Table
Proper setup is critical for both safety and performance.
Step 1: Install the Router Bit
- Choose the correct bit for your task
- Insert it fully, then pull it back slightly before tightening
- Make sure it’s secure but not overtightened
Step 2: Adjust Bit Height
The height determines how much material is removed. Start with a shallow cut and increase gradually.
Step 3: Align the Fence
- Position the fence based on your desired cut
- Ensure it’s parallel to the bit
- Lock it firmly in place
Step 4: Check Stability
Make sure everything is tight, aligned, and secure before turning the router on.
How to Use a Router Table: Step-by-Step
Now let’s walk through the actual process of how to use a router table effectively.
Step 1: Plan Your Cut
Before starting, understand:
- What type of cut you’re making
- The depth and width required
- The direction of feed
Step 2: Start the Router
Turn the router on and let it reach full speed before feeding the wood.
Step 3: Feed the Workpiece Correctly
Always feed the wood against the direction of the bit’s rotation. This provides control and prevents kickback.
Step 4: Maintain Steady Pressure
- Keep the wood pressed against the fence
- Move it at a consistent speed
- Avoid stopping mid-cut
Step 5: Make Multiple Passes
For deeper cuts, take several shallow passes instead of one deep cut. This improves accuracy and reduces strain on the tool.
Step 6: Turn Off and Inspect
After completing the cut:
- Turn off the router
- Wait for the bit to stop
- Inspect your work
Common Router Table Techniques
Once you understand the basics of how to use a router table, you can explore a variety of techniques.
Edge Profiling
This is one of the most common uses.
- Use round-over, chamfer, or ogee bits
- Ideal for finishing edges on furniture
Groove Cutting
Perfect for:
- Shelving
- Cabinet backs
- Decorative inlays
Rabbets and Dados
Used for joinery:
- Rabbets: L-shaped cuts on edges
- Dados: grooves across the grain
Joinery Work
Router tables can create:
- Box joints
- Finger joints
- Mortise and tenon variations
Choosing the Right Router Bits
Your results depend heavily on the bit you choose.
Common Types of Bits
- Straight bits: for grooves and cuts
- Flush trim bits: for copying shapes
- Round-over bits: for soft edges
- Chamfer bits: for angled edges
- Cove bits: for decorative cuts
Tips for Choosing Bits
- Use high-quality carbide-tipped bits
- Match the bit to the material
- Keep bits clean and sharp
Mistakes to Avoid When Using a Router Table
Even experienced woodworkers can run into issues. Here are common mistakes to watch for:
Feeding in the Wrong Direction
This can cause the wood to kick back or lose control.
Taking Too Deep a Cut
Leads to rough edges, burning, or damage to the router.
Poor Fence Alignment
Results in uneven or inaccurate cuts.
Using Dull Bits
Produces burn marks and tear-out.
Skipping Test Cuts
Always test on scrap wood before working on your final piece.
Advanced Tips for Better Results
Once you’re comfortable with the basics, these tips can elevate your work.
Use Featherboards
They help keep the workpiece firmly against the fence and table.
Add a Starter Pin
Useful for freehand routing operations.
Control Feed Speed
- Too fast = rough cuts
- Too slow = burn marks
Keep Your Table Clean
Dust and debris can affect accuracy and smooth movement.
Maintenance and Care
Taking care of your router table ensures long-term performance.
Regular Maintenance Tasks
- Clean the table surface
- Lubricate moving parts
- Check alignment regularly
- Inspect bits for wear
Storage Tips
- Store bits in a dry place
- Keep the router covered
- Avoid moisture exposure
When Should You Use a Router Table?
A router table is especially useful when:
- Working with small or narrow pieces
- Repeating the same cut multiple times
- Needing consistent, precise results
- Performing edge work or joinery
For large or irregular pieces, a handheld router may still be more practical.
Frequently Asked Questions (FAQ)
1. Is a router table good for beginners?
Yes, as long as you follow safety guidelines and start with simple projects. It can actually be easier to control than a handheld router.
2. What direction should I feed wood on a router table?
Always feed the wood against the rotation of the bit. This gives you better control and reduces the risk of kickback.
3. Can I use any router with a router table?
Most routers can be mounted in a table, but fixed-base routers are generally easier to use in this setup.
4. How deep should I cut in one pass?
It depends on the material and bit, but shallow passes are always safer and produce better results.
5. Why does my wood burn when routing?
Burn marks usually happen due to:
- Slow feed speed
- Dull bits
- Excessive friction
6. Do I need a fence for every cut?
No, but it’s recommended for most operations. Some freehand cuts use a starter pin instead.
7. How do I avoid tear-out?
- Use sharp bits
- Take light passes
- Support the wood properly
Final Thoughts
Learning how to use a router table is a game-changer for anyone interested in woodworking. It offers precision, consistency, and versatility that can take your projects to the next level.
While it may seem intimidating at first, the key is to start simple, prioritize safety, and practice regularly. Over time, you’ll gain confidence and unlock the full potential of this powerful tool.

